How to Create a Redemption Location #
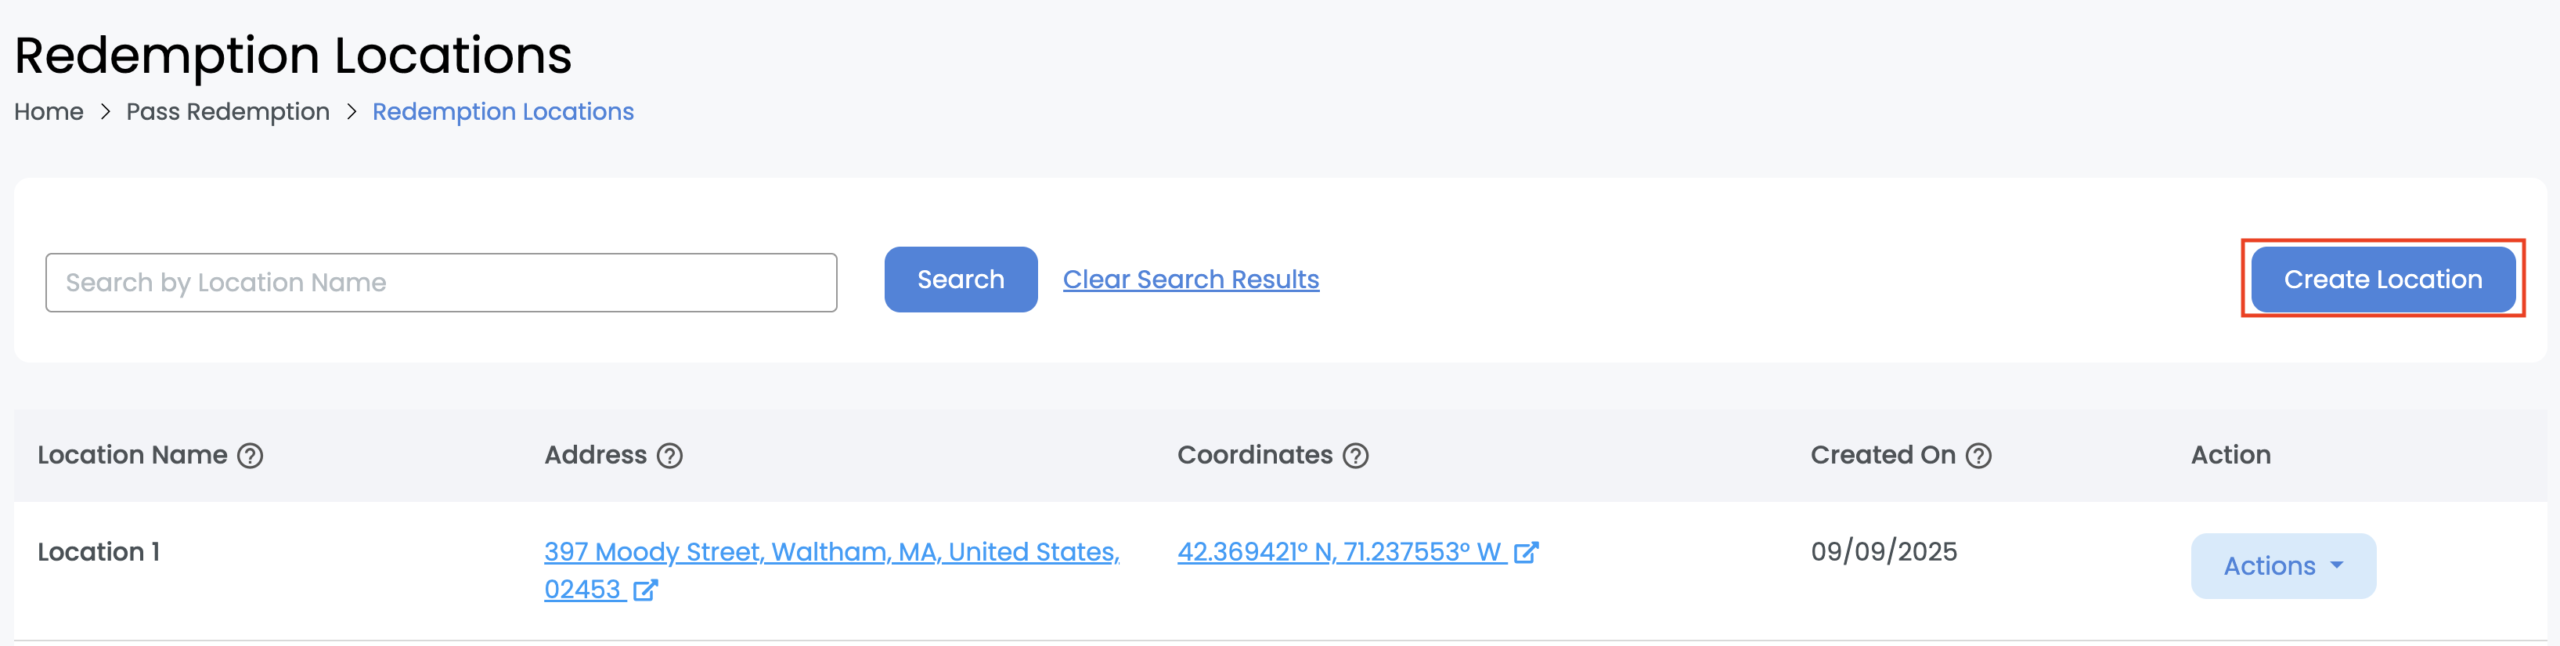
Redemption locations are used to verify an employees location to enable them to redeem Passes when they are in specified locations. You can first create a geofence location and link that location in the Redemption Profile Builder later. Once you have created redemption or geofence locations, you can search for a location using the following filters on the Redemption Locations page: location name, address, city, state, country, or zipcode.
Step 1: Create a Geofence Location
The Redemption Locations page displays information about previously created locations. You can create new locations directly from this page by clicking on the "Create Geofence Location" button.
| Field | Description |
|---|---|
| Location Name | This name is used internally to differentiate between multiple geofence locations you have created. This is not displayed to the end user. |
| Address | The address that the location is set to. This can be clicked to open the address in Google maps. |
| Coordinates | These are the coordinates (latitude/longitude) to the center point for the location. This can be clicked to open the coordinates in Google maps. |
| Created On | The date and time that the geofence location was first created. |
| Action: Edit Geofence Location. | Clicking this action will open the redemption location builder and enable you to edit existing redemption location details. |
| Action: Delete Geofence Location | Clicking this action will delete the geofence location and will be removed from any redemption profiles the geofence location may have been linked to. |
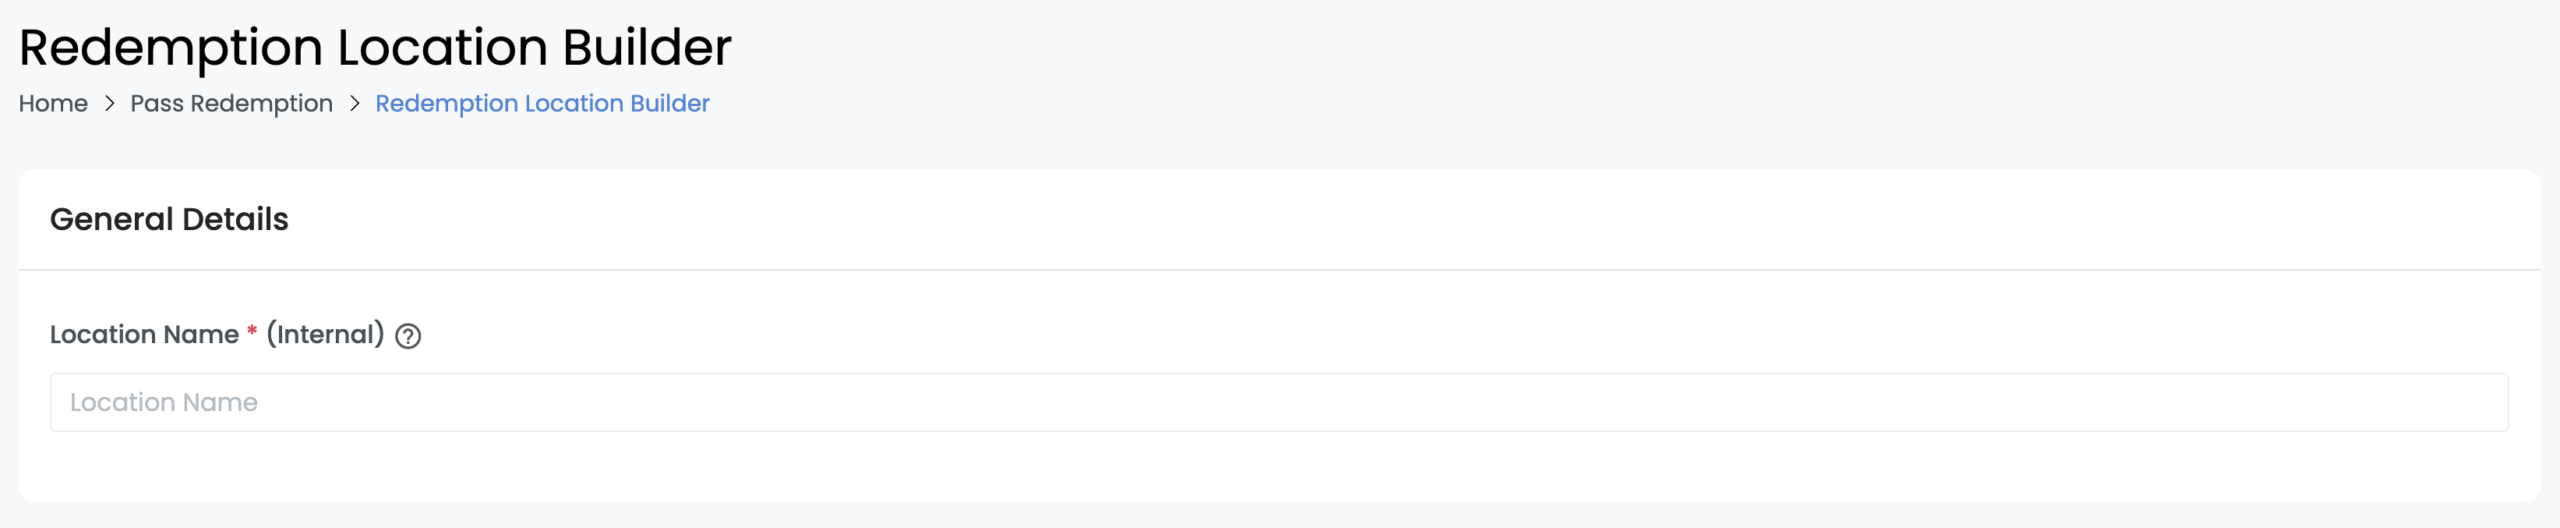
Step 2: Add General Details
Fill out the general details section by adding a location name. The location name is used only internally to differentiate between multiple redemption locations you have created.
Step 3: Enter Location Address Details
Fill out the address, city, state, country, and zip code of this location.

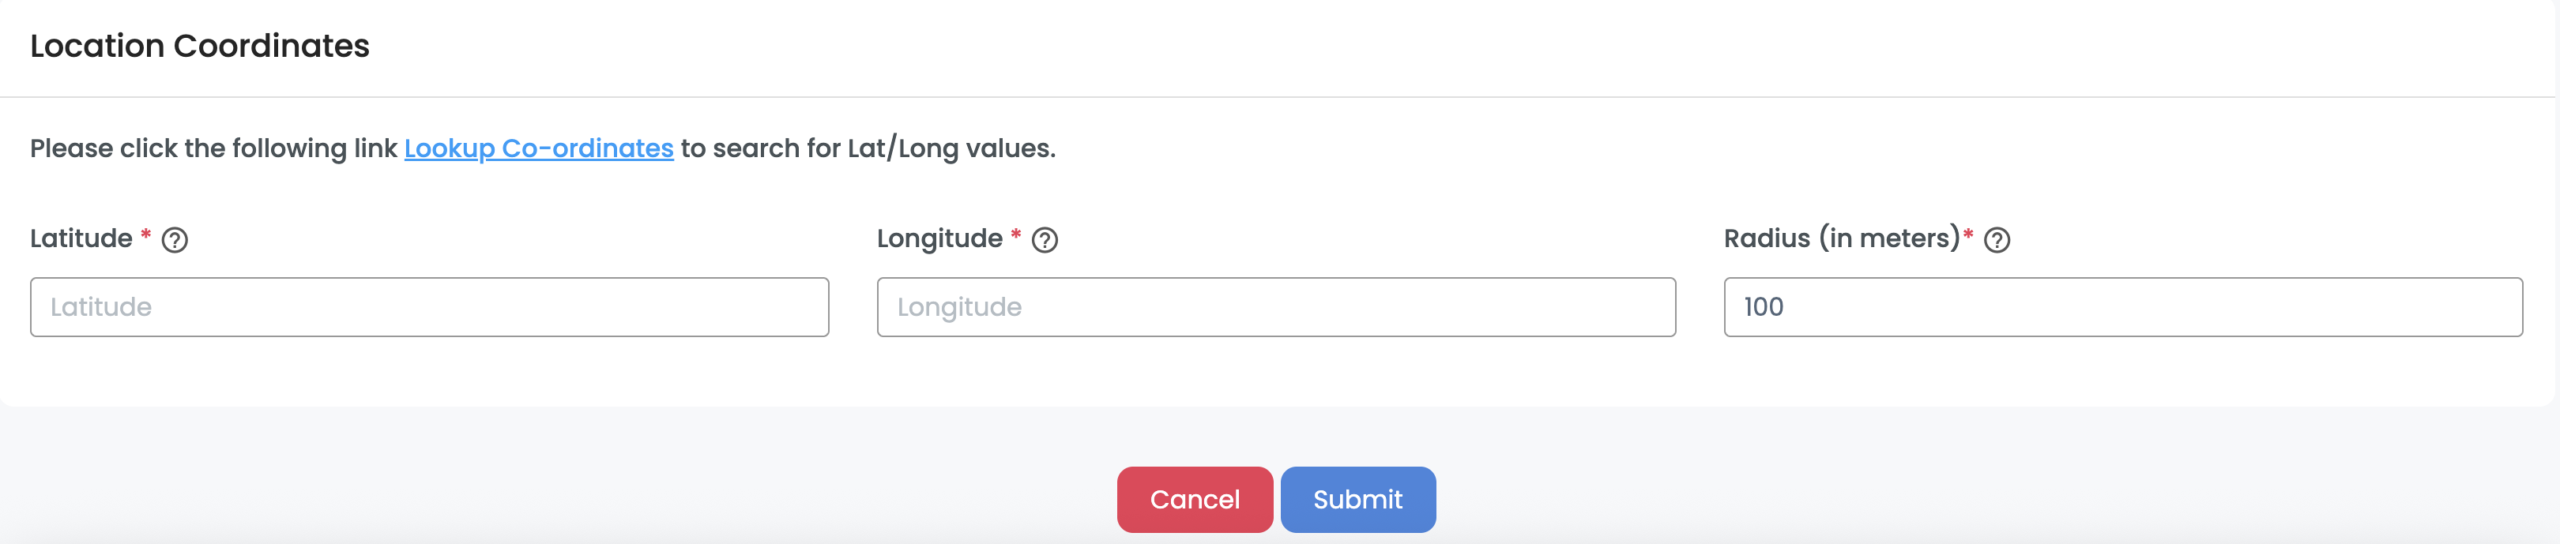
Step 4: Enter Location Coordinates Details
Enter the latitude and longitude of the center point location for this geofence. You can then specify the radius (in meters) for the search area around your center point. The center point